Creating a transparent background in Affinity Photo 2 can be quite tricky because it doesn’t work exactly like in other graphics editors.
The quickest and easiest way to make transparent background in Affinity Photo is to select the “transparent background” option when you create a new file. You can also make the background transparent for photos by erasing the background.
In this quick guide, I will show you how to do both, with simple step-by-step instructions.
Method 1: How Make Transparent Background In A New File
First, let’s start with the simple way to create a transparent background in Affinity Photo 2. And that’s by making a new file.
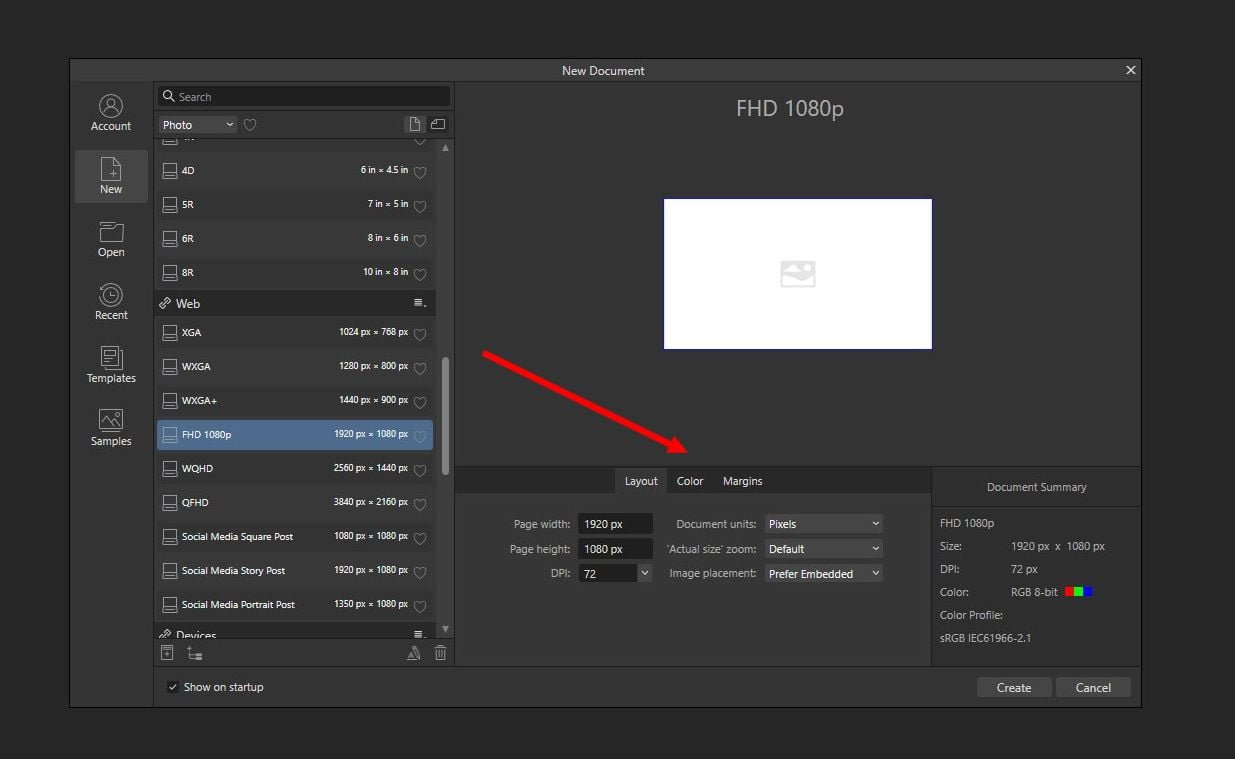
Step 1: In the create a new file window, select the size of the file you want to create.
Step 2: Then switch over to the Color tab right below the image preview.
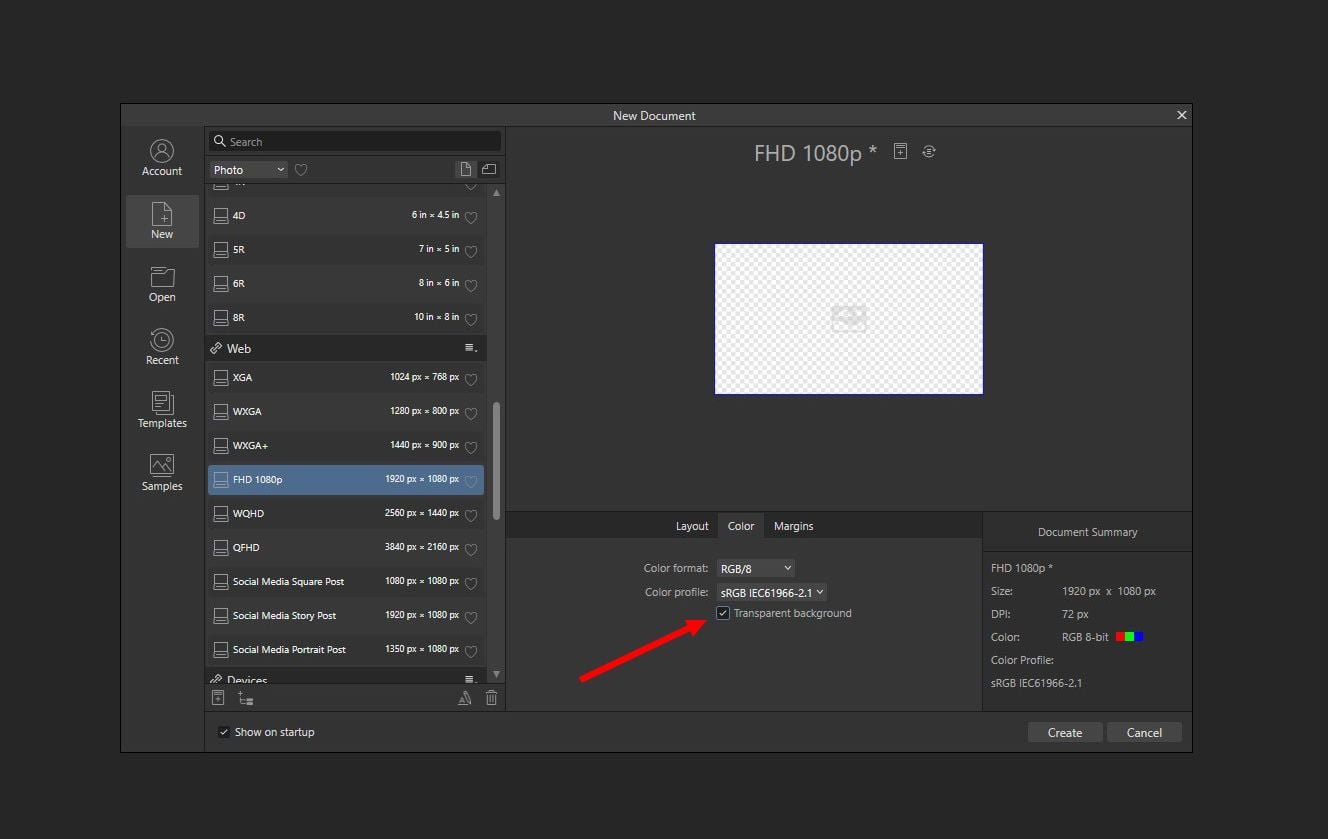
Step 3: Tick the box for “transparent background” and click the Create button.
This will create a brand new empty file with a transparent background. You can start editing the file however you like. You can even add a background to it.
Method 2: Make Transparent Background In An Existing File
What if you had already created a new file and started working on it? And it’s too late to go back and create a new file? Well, don’t worry. You can still turn the background transparent. Here’s how.

Step 1: First, navigate to the Document menu at the top of the window.
Step 2: Then select the Transparent Background option.
This will immediately turn your document background transparent. It’s that simple.
Method 3: How To Remove A Background
If you want to remove the background from an image or a photo, the process is different and it involves a few extra steps.
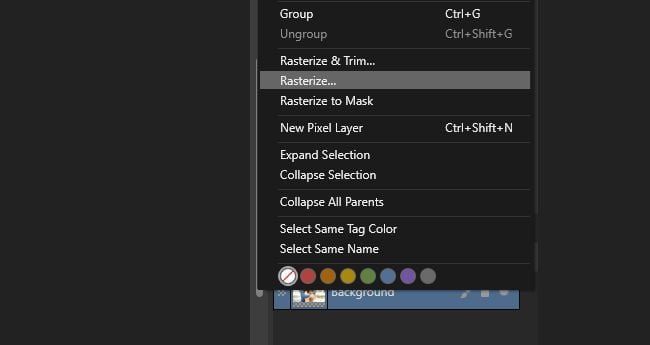
Step 1: First, make sure to Rasterize the layer you’re working on. You can do this by right-clicking on the layer in the Layers Panel. Then select Rasterize.
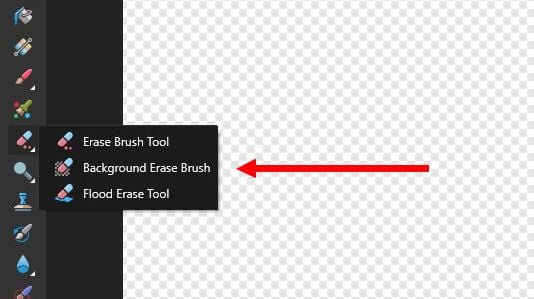
Step 2: The easiest way to remove the background from a photo is to use the Background Erase Brush tool. You can find it right below the Erase Brush tool.

Step 3: Using this tool is easy, just carefully run the brush around the subject while tapping around. You’ll notice that this Background Erase Brush is intelligent enough to erase only the background.

Step 4: Once you have the outline erased, you can now use a tool like the Freehand Selection tool to create a selection around the background without affecting the main subject.
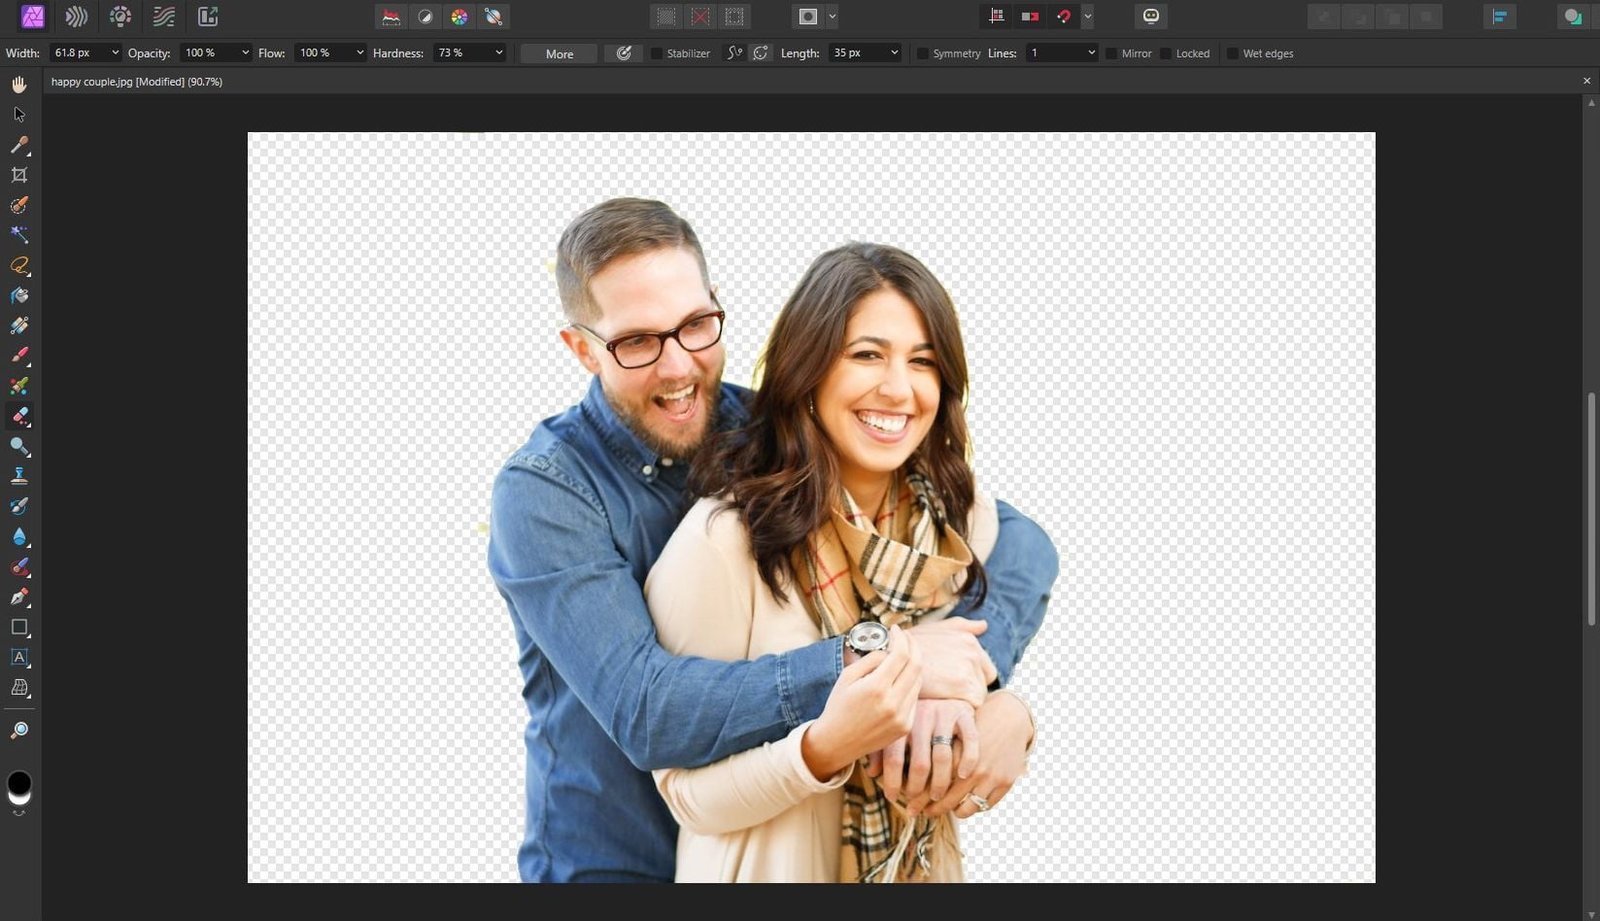
Step 5: Then press the Delete key on your keyboard to remove the background.
The result won’t be perfect so you will have to refine it a little bit using other tools like the eraser tool. But it won’t be too much work.
Conclusion
There are many other ways to remove a background in Affinity Photo but this is the easiest method. You can also use the Selection Brush tool but it requires additional steps. I’ll share that method in a future article.